How to Draw Simple Mehndi Design for hands

Drawing 8 simple mehndi design for hands steps involves learn a few basic shapes and patterns. These include small dots, some state lines, different curves, Round circles, and some floral motifs. Here a breakdown.
1. Preparation Simple Mehndi Design for Hands
Choose quality mehndi cones for smooth application. Wash and dry your hands thoroughly to remove oils or dirt.
2. Start with Basic Shapes
Practice drawing small dots, petals, spirals, and paisley shapes on paper.
3. Combine Patterns
Arrange these shapes creatively to form flowers, leaves, and vines. Start with the fingertips and work towards the wrist.
4. Add Filler Designs
Use fillers like small dots, shading, or crosshatching to enhance the design
How to Do Simple Mehndi Design for Beginners

Beginners can easily learn Simple Mehndi Designs for Hands | 8 Draw Step by Step by focusing on minimalist styles. Here’s a step-by-step guide:
1. Choose Easy Design
Begin with straightforward patterns like circles, hearts, or vines.Explore pre-drawn stencils if freehand drawing is challeng.
2. Start Small
Focus on one finger or a small area of the palm. This reduces complexity.
3. Gradual Progression
Move from small motifs to larger patterns as confidence builds.
4. Practice Regularly
Consistent practice is key to steady hands and smooth lines.
How to Create Mehndi Designs for Hands
Creating mehndi designs for hands combines artistic expression with cultural traditions. Here is how you can craft them.
1. Visualize the Design Simple Mehndi Designs for Hands
Decide on the style: Arabic or Indian Sketch a draft of your design on paper if needed.
2. Outline Key Motifs
Begin with larger elements like flowers or paisleys on the centre of the palm.
Expand the design outward with leaves or geometric patterns.
3. Incorporate Symmetry
Balance the design by mirroring patterns on both sides of the hand
.4. Personalize simple mehndi design for hands
Add initials, names, or symbolic motifs for a unique touch.
How to Learn Mehndi Designs on Hands
Learn about henna designs involves structured practice and exposure to different styles. Here’s how to master the art.
1. Observe and Analyse
Study designs online, in books, or on social media platforms like Pinterest and Instagram.
2. Start with Simplicity
Mimic basic designs such as small flowers or vines before advancing to intricate patterns.
3. Practice on Paper
Perfect your technique on paper before applying it to hands
4. Use Practice Sheets
Print practice sheets with drawn patterns to trace over.
5.Tools for Experiment
Experiment with traditional cones and modern applicators to find what suits you.
How to Make Simple Mehndi Designs
Simple mehndi designs focus on elegance with minimal effort. Following these steps
1. Use a Centre piece
Start with a prominent motif in the centre of the palm or back of the hand.
2. Add Vines and Dots
Extend the design with simple vines, dots, or lines around the centerpiece.
3. Focus on Symmetry
Symmetry makes even basic designs look polished.
How Many Types of Mehndi Designs Are There?
There are various types of mehndi designs influenced by cultures and artistic styles. Here are some most popular ones
1. Indian Simple Mehndi Designs for Hands
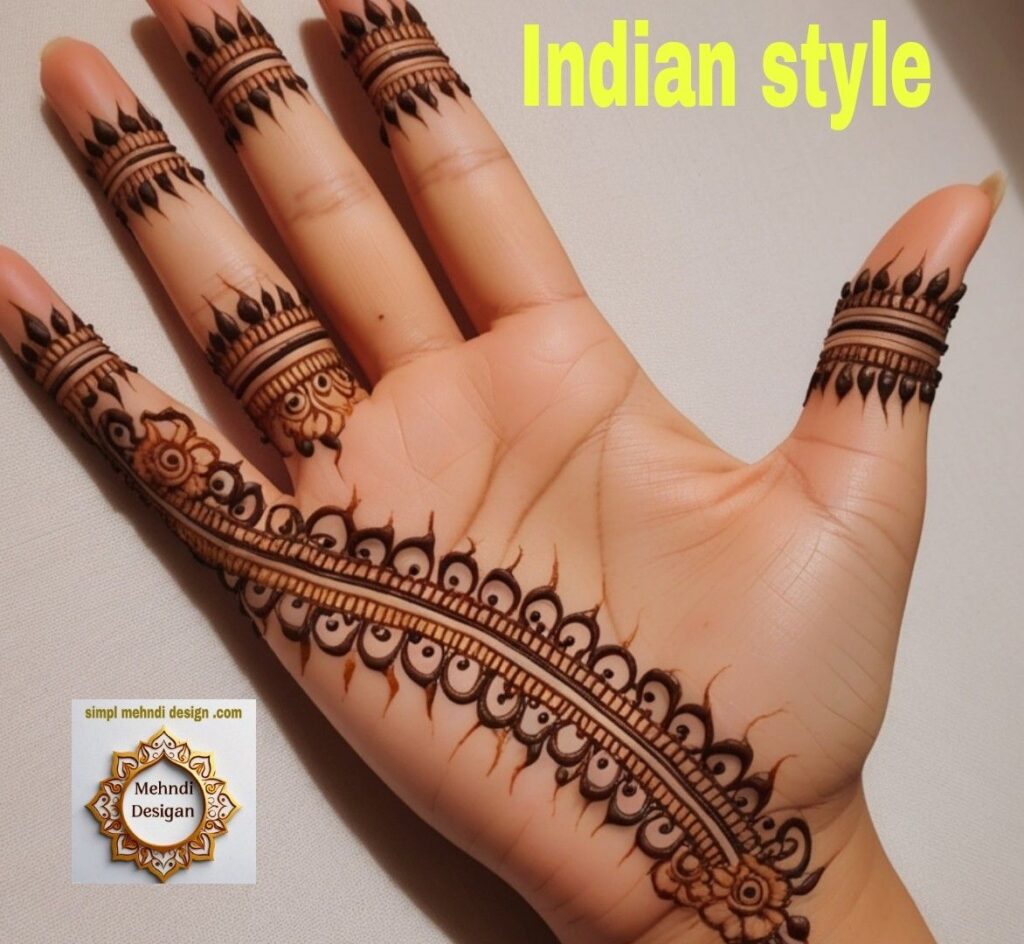
Characterised by intricate patterns covering the entire hand and forearm.Includes peacocks, paisleys, and floral motifs.
2. Arabic Simple Mehndi Designs for Hands
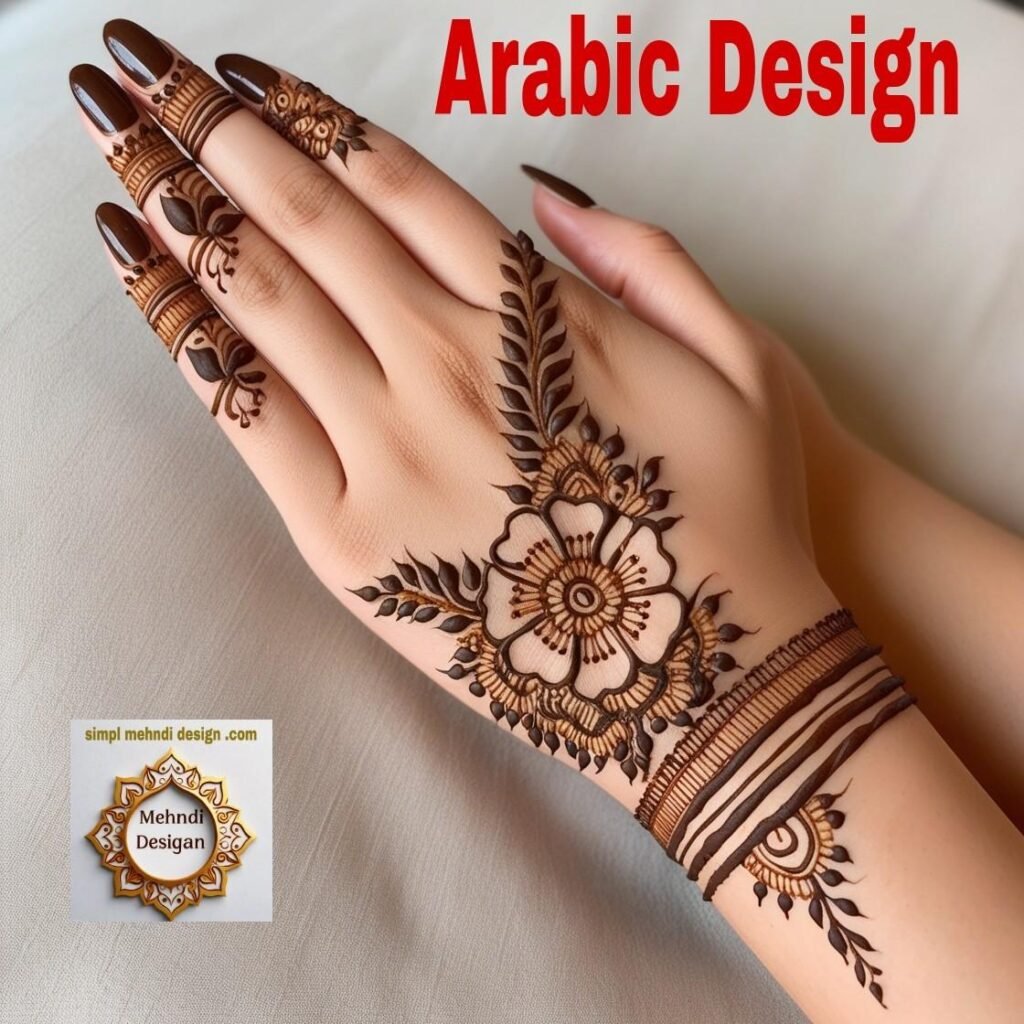
Features bold, flowing designs with open spaces.Commonly uses vines, flowers, and geometric shapes.
3. Pakistani Simple Mehndi Designs for Hands

A blend of Indian and Arabic styles, often used for weddings.Includes detailed motifs with cultural elements.
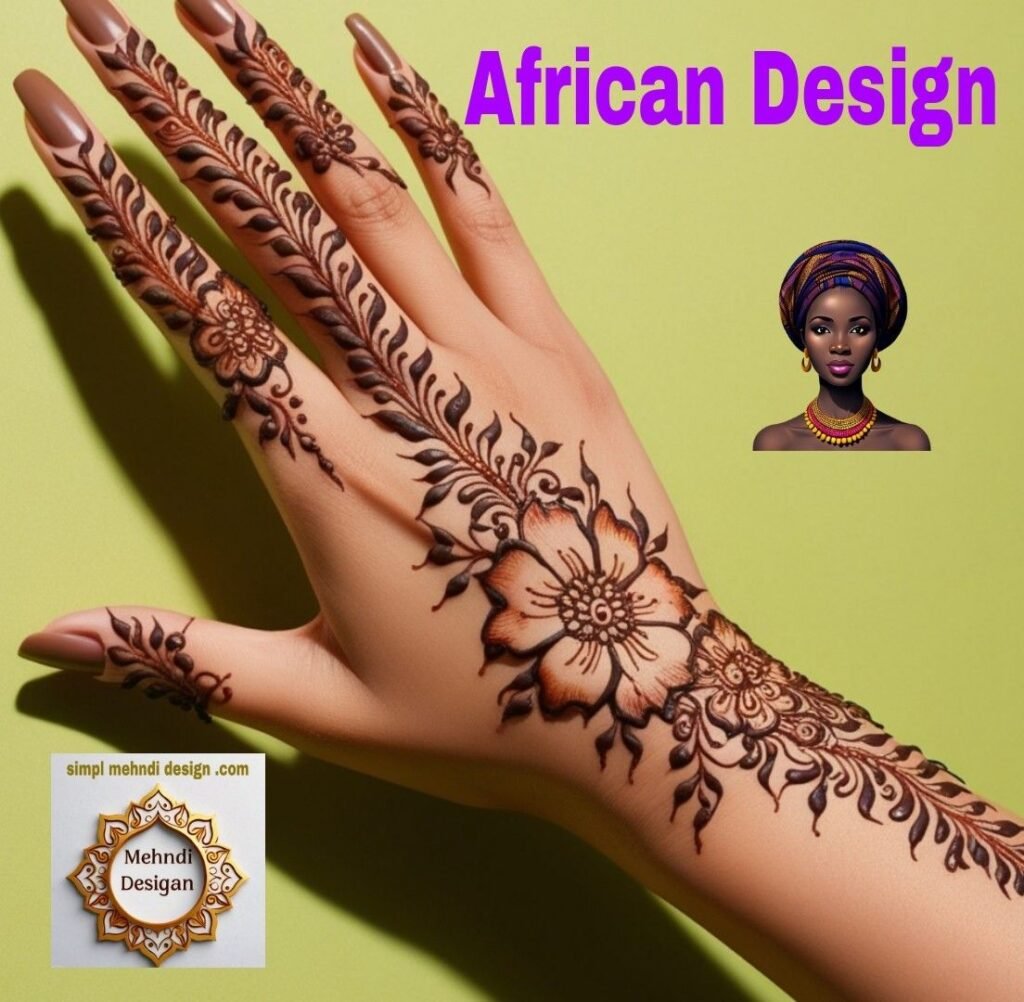
4. African Simple Mehndi Designs for Hands
How to Mehndi Designs
To create mehndi designs, you need patience, practice, and the right tools. Here are some new tips:
1. Preparation
Always clean the application area and use a fresh cone.
2. Understand the Basics
Practice basic elements like dots, spirals, and curves.
3. Design Planning
Visualize the design layout, including motifs and filler patterns.
4. Consistency
Keep your hand steady and apply even pressure for consistent lines.
How to Create Mehndi Designs
Creating mehndi designs is a creative process. Here’s how you can innovate:
1. Study Different Styles
Explore various mehndi styles and mix elements for a unique design.
2. Draw Inspiration
Take cues from nature, textiles, or cultural artificial for motifs.
3. Layer the Design
Start with bold motifs, then add finer details for depth.
Table of Contents
Hy Simple Mehndi Design for Hands | 8 Draw Step by Step
To create mehndi designs, you need patience, practice, and the right tools. Always clean the application area and use a fresh cone. Practice basic elements like dots, spirals, and curves. Visualize the design layout, including motifs and filler patterns. Keep your hand steady and apply even pressure for consistent lines. Creating mehndi designs is a creative process.
Here’s how you can innovate:
Study Different Styles: Explore various mehndi styles and mix elements for a unique design. Draw Inspiration: Take cues from nature, textiles, or cultural artifacts for motifs. Layer the Design: Start with bold motifs, then add finer details for depth. See video how to Drow designs click on our YouTube channel

